Automations and Collection Extensions

New metadata and descriptions will initially be blank. You can use these new fields to update information to help you manage your automations and collection extensions.
If you have an existing automation or collection extension in another SysTrack environment you can import the profile. The dependent action must be available on the tenant to import.

Automations
This is a table view which includes the metadata in the following columns:
| Column Name | Description |
|---|---|
| Name | A customer defined name of the automation. |
| In Assist? | Is the Automation available from Assist. Yes or No. |
| In Self-Help? | Is the Automation available from Self-Help. Yes or No. |
| OS | Operating system that the automation supports. |
| Run As | If the automation runs as user or system. |
| Runtime Limit | The configured run time limit. |
| Scheduled | The number of triggers associated with the automation (tool schedules). |
| Last Modified | The date and time when the automation was last updated. |
You can search, filter, or sort by column.

You can click an automation in the table to see the detail view.
In the upper right, you can click to edit the automation, export it, or delete it.
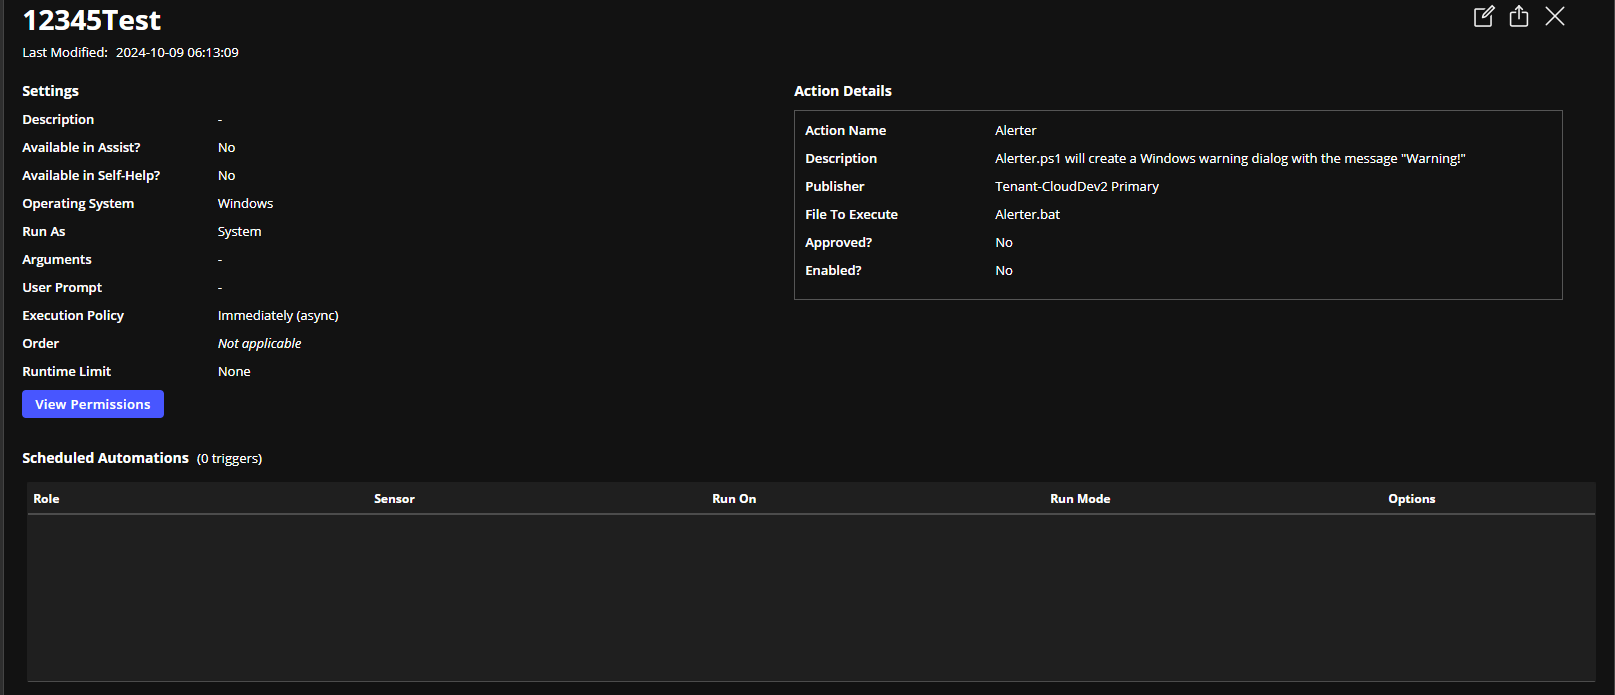
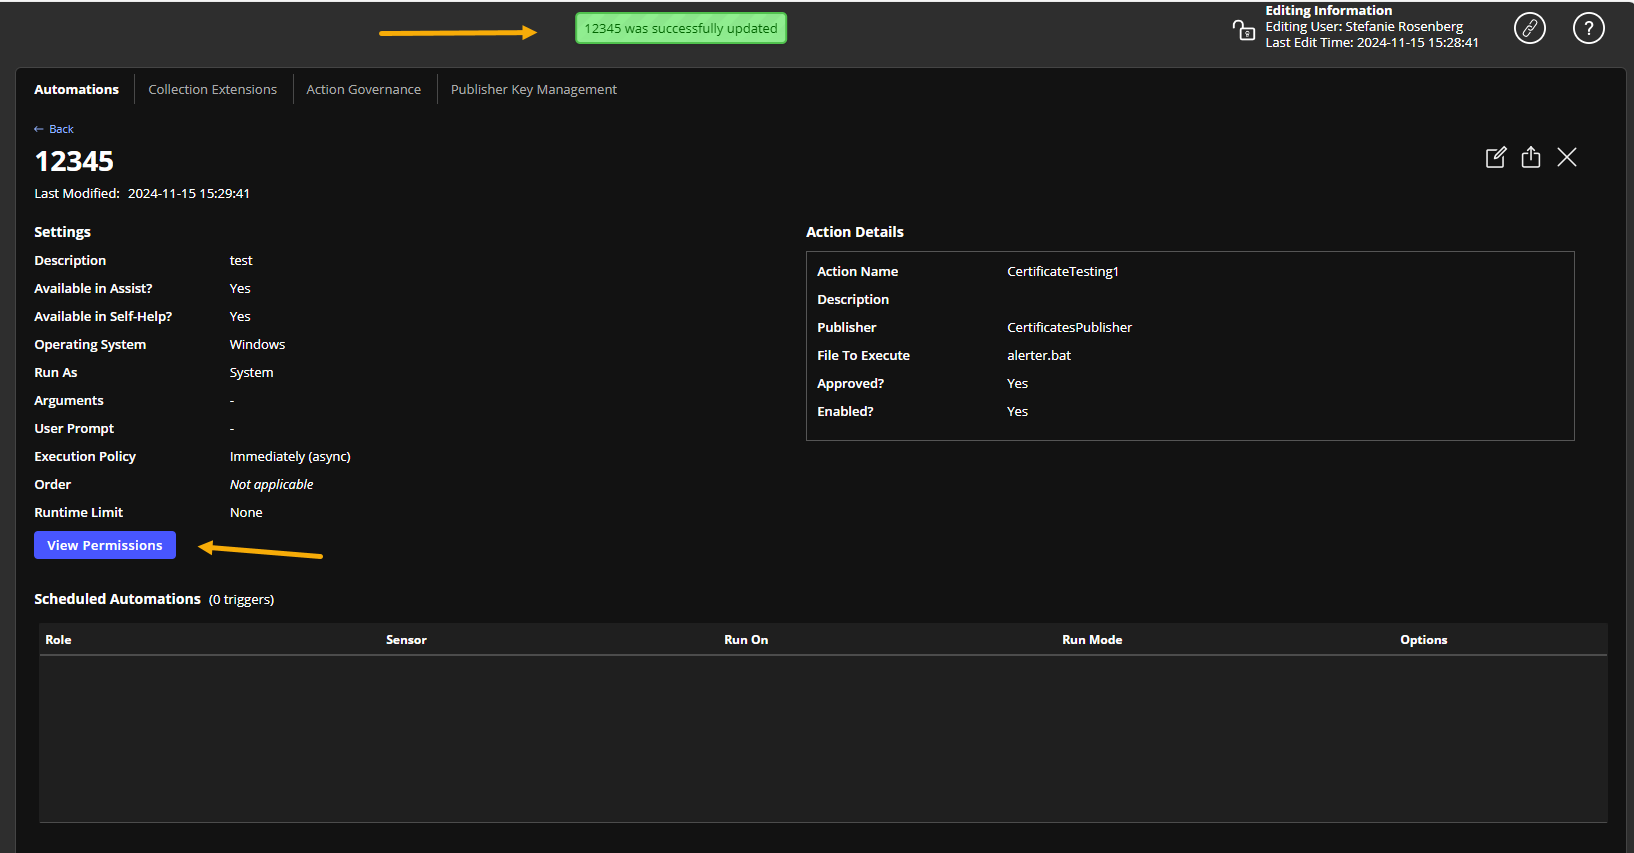
It includes the settings, details, scheduled automations by role, sensor, how it runs, and options.
You can click View Permissions to review the permissions that are assigned to the automation.
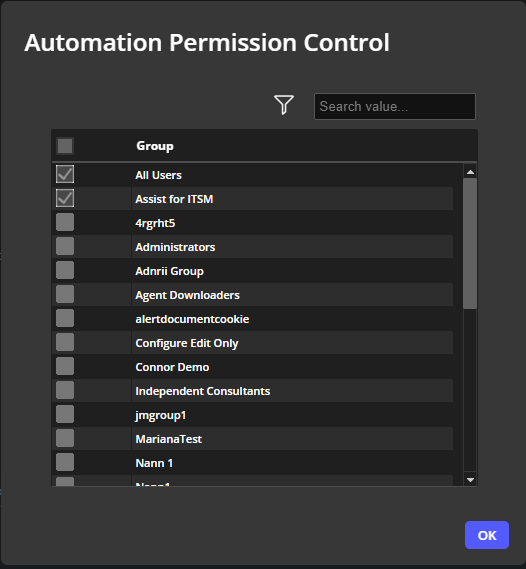
Every permission will be enabled for every group where the automation currently exists for 11.1. Any new automations that are created after the 11.1 release, you will have to set the permissions.
In Permission Controls, there will be a default setting for Assist for ITSM. If you use Service Now and want the group to show for Assist for ITSM, you will need to check that permission box.
The Scheduled Automations area allows you to see the role the schedule is applied to, the link between automations, and the sensors that trigger them. You can view the role in Configure, or the sensor in Prevent by the link.
Create Automation
IMPORTANT: You must be in edit mode, click the lock, in order to create an automation.
-
Click Create Automation
-
Select the Supported OS from the list. Choices are Windows, Mac, or Linux.
-
Enter the Name for the automation.
-
<Optional> Enter a description of the automation.
-
Click Select Action which opens up a filtered list of actions specific to the operating system that you chose.
NOTE: If you want a complete list of all available actions for all operating systems, click Remove OS filter in the lower left corner.
-
Choose the action and click Select Action.
-
The Automation shows the information that is specific to the operating system.
-
File to Execute - The file to run. If there are multiple executables in the action choose the required file.
-
Arguments - If your action is configured with required or optional parameters you can enter arguments separated by spaces. The following characters are not allowed in an argument: | ; &
-
Notify Prompt - This is the text that is shown to the user if the tool schedule is configured to notify.
-
For Additional Availability, you can enable Make available in Assist or Make available in Self-Help (Windows Only) when you check the box.
NOTE: Actions that require arguments can not be used with automations that are published for Self-Help. If you provide an optional argument, that automation will not be available in Self-Help.
-
Run As - This setting controls whether the file that will be run is by System or the logged in User (Windows Only).
-
Execution Control - These settings control how the file to be executed is run on the system.
If you choose Immediately (async) your Runtime Limit options are None or Cancel automation if not finished after x Minutes or Seconds. If you decide to run immediately, you can either have no time out (none) or set a time out value.
If you choose After previous synchronous automations finish (sync) your Runtime Limit options are Use Configuration defined Max Execution Time and Only applicable if limit is less than configuration defined Max Execution Time. The default is one minute but you can select seconds. For example, if you have the max execution time defined as 5 minutes in the Configuration you can set a lower max execution time of 2 minutes because it's less than 5.
-
Order - Defines the order that this automation runs if it is triggered at the same time as other automations. For example if you have Sensor 1 set to trigger Automation A and B. Setting Automation A as 0 and Automation B as 1 will run A followed by B.
-
-
Click Save Changes.
Edit an Automation
-
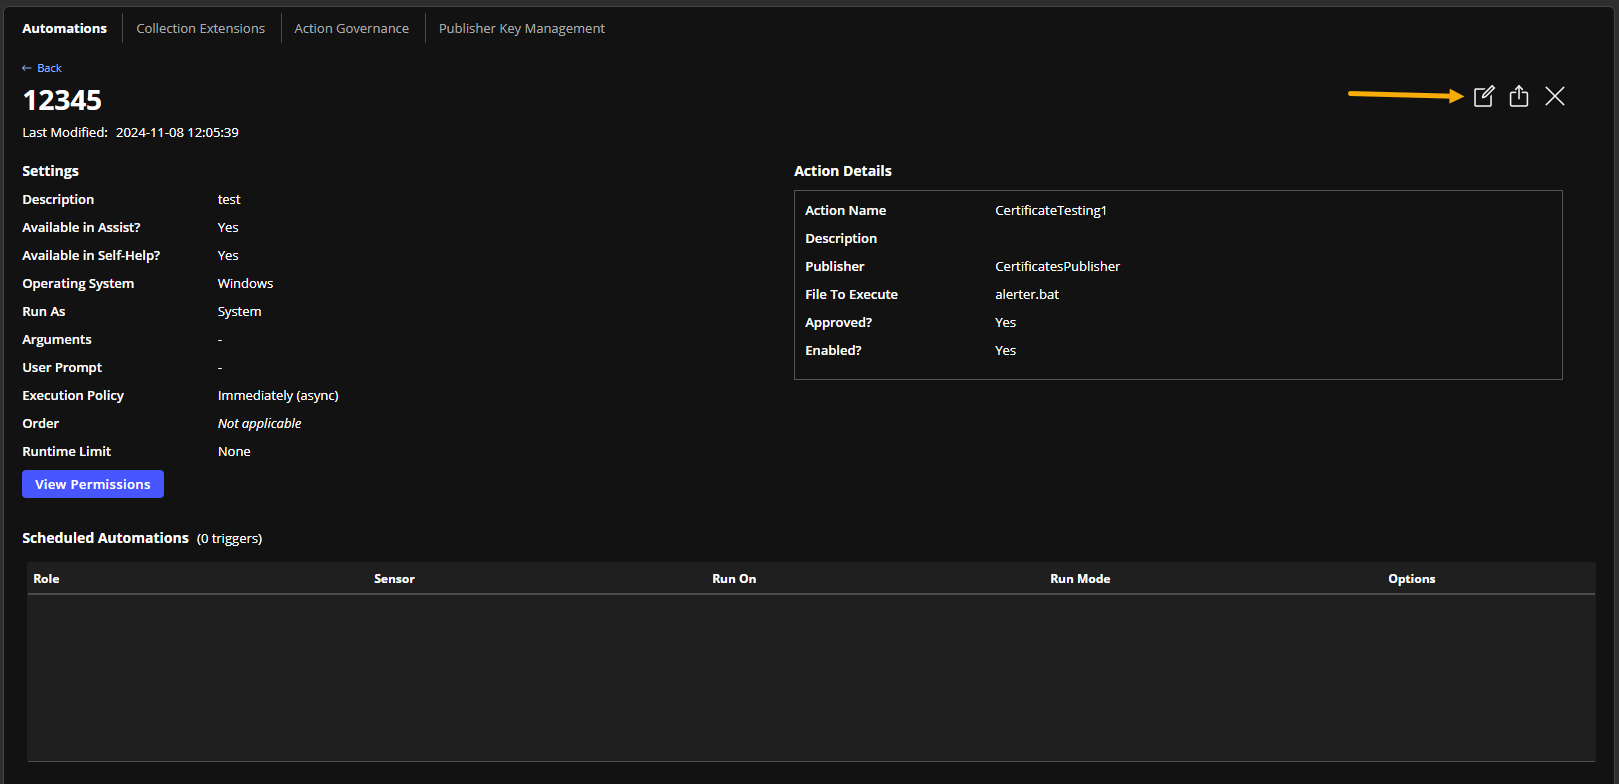
Click the name of the Automation to edit.
-
Click Edit.
-
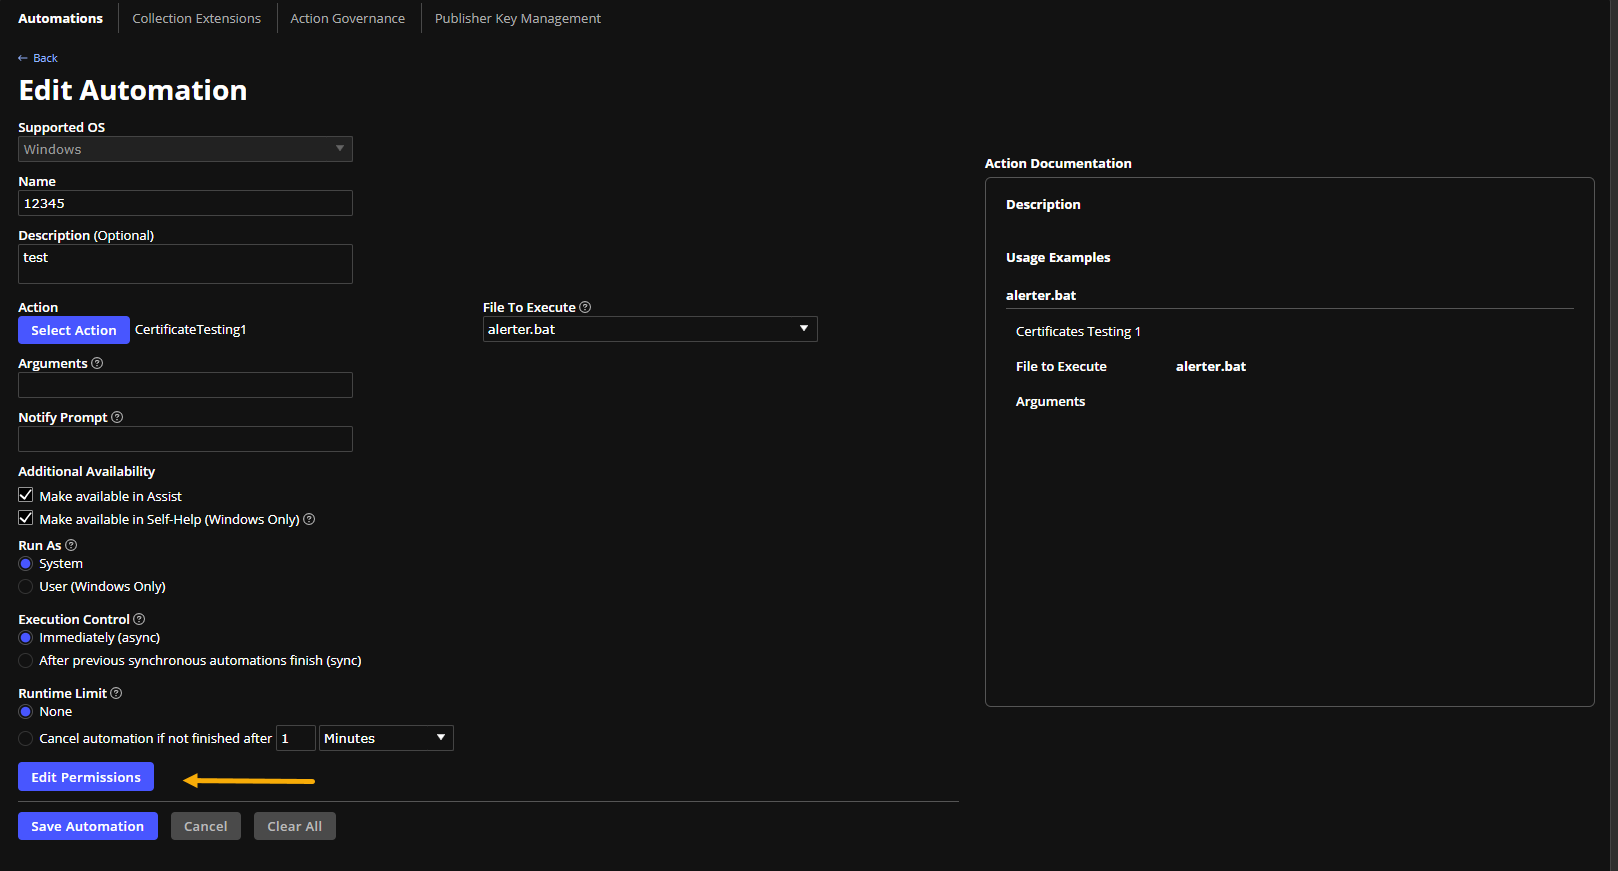
The Edit Automation window opens.
-
Click Edit Permissions.
-
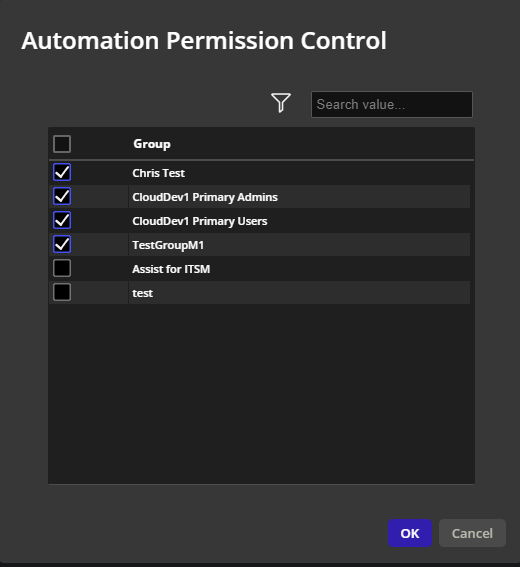
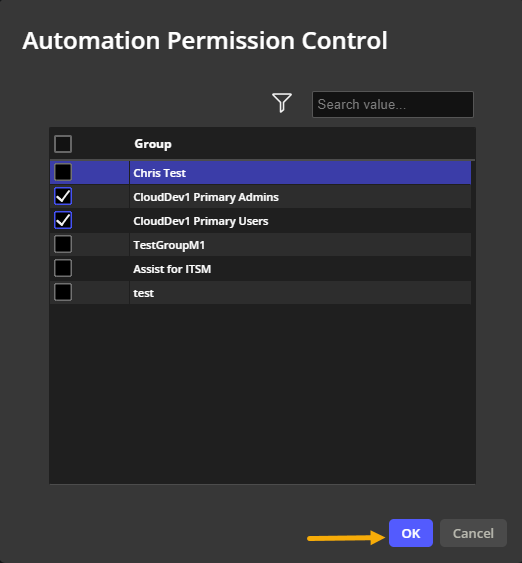
In the Automation Permission Control window check or uncheck the permissions you want to change.
-
After you have made your updates, click OK.
-
Click Save Automation

-
You will see a message that it was successfully updated.
-
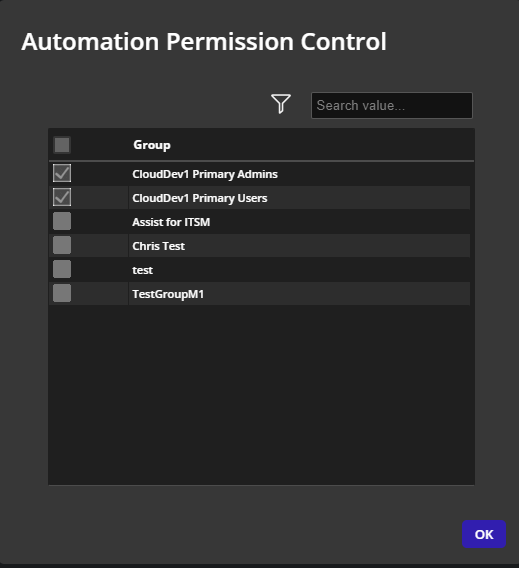
Click View Permissions to verify your changes.
-
Click OK.
Collection Extensions
This is a table view which includes the metadata in the following columns:
| Column Name | Description |
|---|---|
| Name | A customer defined name of the collection extension. |
| OS | Operating system that the collection extension supports. |
| Run As | If the collection extension runs as user or system. |
| Runtime Limit | The configured run time limit. |
| Scheduled | The number of triggers associated with the collection extension (tool schedules). |
| Last Modified | The date and time when the collection extension was last updated. |
You can search, filter, or sort by column.
You can click a collection extension in the table to see the detail view.

Create Collection Extension
IMPORTANT: You must be in edit mode, click the lock, in order to create a collection extension.
-
Click Create Collection Extension.
-
Select the Supported Operating System from the list.
-
Enter the Name for the collection extension.
-
<Optional> Enter a description of the collection extension.
-
Click Select Action which opens up a filtered list of actions that are defined as collection extensions.
NOTE: Collection Extensions are only supported by Windows. If you do not have the OS metadata defined for your existing actions and you want a complete list of all available actions for all operating systems, click Remove OS filter in the lower left corner.
-
Choose the action and click Select Action.
-
Select the File to Execute.
-
If your action is configured with required or optional parameters you can enter Arguments separated by spaces.
-
Run As the System or the logged in User (Windows Only).
-
Choose your Runtime Limit of None or Cancel automation if not finished after x Minutes or Seconds.
-
Click Save Changes.
Action Governance
The Action Governance tab displays all of the Actions you can trigger using Automations in SysTrack. Actions can be built using the action builder or you can import actions that you have built using the offline tool. Before you import new actions into SystTrack, you should make sure that they are thoroughly tested on the relevant systems. Once actions are created or imported they require approval in SysTrack by a user with the proper permissions. Once an action is approved, an automation can be defined to use that action.
Actions
An action is a set of files that consists of executables and supporting files. Executable files can be any file that the target operating system can run natively, for example, a batch file, an executable, or shell script. A supporting file can be called from the executable file such as PowerShell, VB, or Python scripts.
There are a number of factory actions available for download. <Link to action library>
On the table you can view existing approved actions. Actions that are pending approval are listed in the Pending Approval tab. <insert cross reference>
From Actions you can:
-
Create Action using the action builder
-
Import an action you have created using the offline tool (LSAction Builder) or one that you have exported from another environment. The name of the imported action can be no more than 60 characters.
-
Bulk Actions - You can select one or more actions to enable, disable, and delete. If you disable an action it isn't removed from your instance, but it is removed from your systems.
-
Click an action to view its details in the Action Details area. If you have the lock when you click an action it will take you to the edit action page. <Cross reference to edit action>
NOTE: After an action is approved, you can't revert but you can delete it.
Create New Action
- Click Create Action
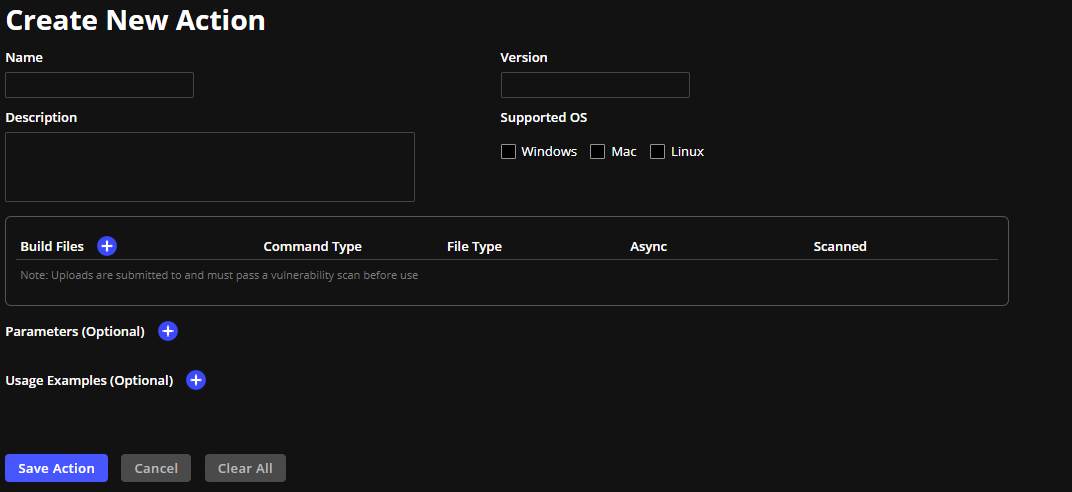
- Use the appropriate fields to specify a Name, Version, and Description. The Name can be no longer than 60 characters.
- Select the Supported OS: Windows, Mac, or Linux.
- Click the + next to Build Files, to browse and select the files to be included in the Action. You can only select one file at a time and the maximum file size is 150MB.
- As you upload each file, it will go through a scanning process and show one of the following statuses: scanning, success, quarantined, fail
- Scanning is in process.
- Success the file has passed the scan and successfully uploaded.
- If a file's status is quarantined it has not passed scanning. The file should be checked locally for potential viruses.
- If a file's status is fail there was an error during the scan or upload. Resubmit the file.
- For each file, you can see the Command Type which is either automation or collection extension, File Type which is either exec or support, and if it is an exec whether it runs Sync or Async.
- If you need to remove a file, click the trash (bin) icon.
- <Optional> You can specify Parameters to be used with the action and Usage Examples to guide the use of those parameters.
- Click Save Action.
- The action will now be visible in the Pending Approval tab.
Video: Create an Action
Pending Approval
From Pending Approval you can Approve or Delete actions that have been created using action builder or imported. There is a specific permission required to approve actions. By default, the same user that built or imported the action can not approve it.
The number of pending approvals shows above to the right.

If there are no actions that require approval you will not see the Pending Approval tab.
On the table you can view actions that are pending approval.
From Pending Approval you can:
-
Click on a row to see the information in the Action Details area. If you have the lock when you click the action it will take you to the edit action page. <Cross reference to edit action>
-
Click export to export the selected action.
-
-
Approve actions. If you have the lock, you can select one or more actions to approve. Once approved they will show in the Actions tab.
-
Delete actions. If you have the lock, you can select one or more actions to delete. If you delete actions they will be removed from SysTrack.
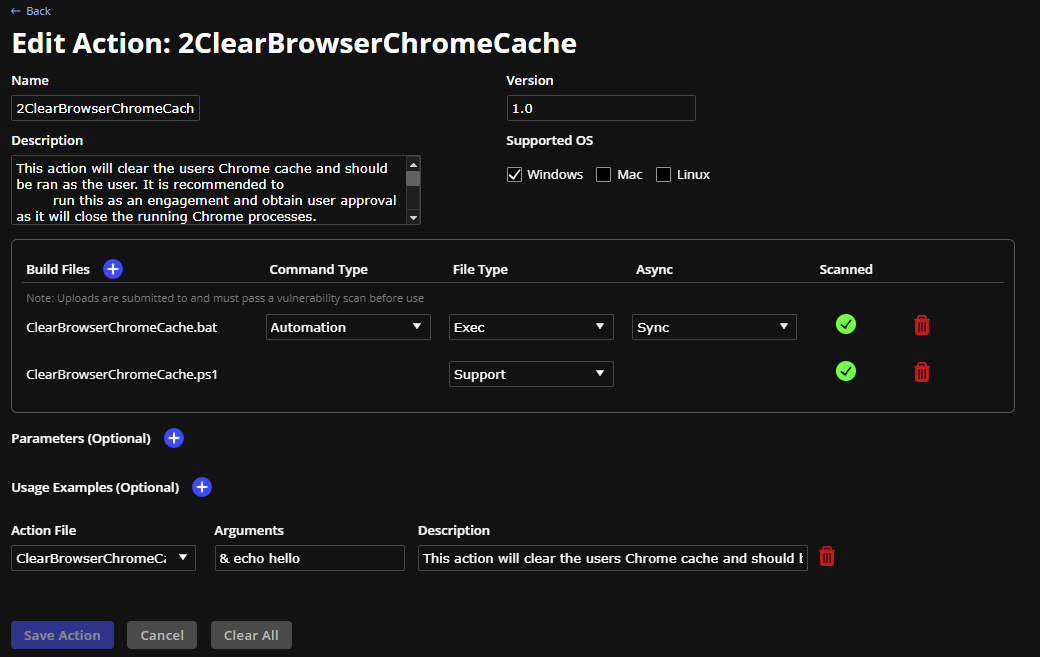
Edit Action
You can click on the name of an Action to edit it. You can update any of the action metadata in this view. You can remove and replace files, as well as update paramaters and usage examples.
Click Save Action to update the action with your changes. This will require the action to be reapproved.
NOTE: Version will not automatically increment if you update an action.
Publisher Key Management
All actions built using action builder will be signed using the tenant key that is created when your tenant is built. If you want to import signed actions from another SysTrack tenant you must have the public key for those actions in order to import and approve them.
Publisher public keys, can me managed on this tab.
Public Keys
To make changes on the Publisher Key management tab, you will need to obtain the lock.
Delete - To delete an existing key, select the key, and click delete.
Import - To import a public key from another SysTrack tenant or from a key pair used to sign actions in the offline tool click import.
Search - You can search the list of publisher keys.
Import
Click Import
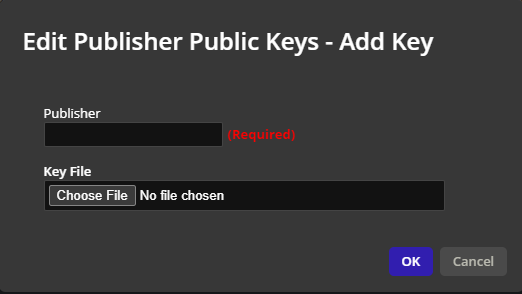
Publisher must match the name of the publisher from where you exported the key.
For example, the action ACTION123 exported from MY TENANT with the publisher name TENANT-MYTENANT will require the public key imported with the publisher set as TENANT-MYTENANT.
Click Choose File and select the key file.
Click Open.
Click OK.
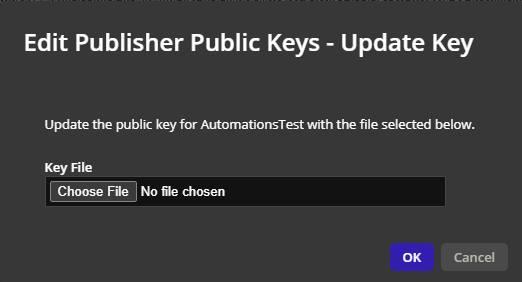
Update Key
-
Select the key in the Public Keys table
-
Click Update Key
-
Click Choose File and select the key file.
-
Click Open.
-
Click OK.
-
The publisher name must be an exact match to the publisher’s name for that Action on the Automations tab for the key to match.
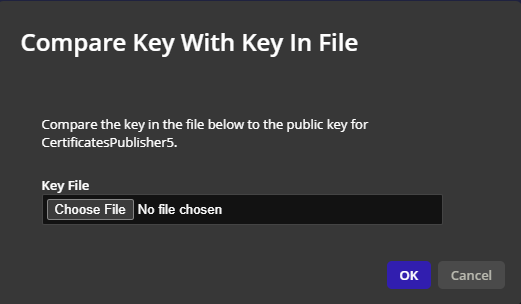
Compare Key With Key In File
You can make sure you have the correct public key for the system by comparing it against its file.
-
Select the key in the Public Keys table.
-
Click Compare Key With Key In File
-
Click Choose File and select the key file.
-
Click Open.
-
Click OK.
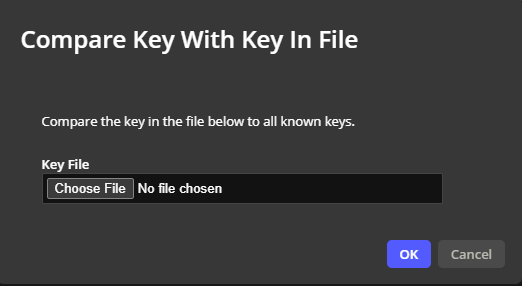
Compare Key In File To All
If you are trying to find a specific publisher for a created public key, you can search for a file to find which publishers have that public key.
-
Select the key in the Public Keys table.
-
Click Compare Key With Key In File
-
Click Choose File and select the key file.
-
Click Open.
-
Click OK.
Topics in This Section
On This Page